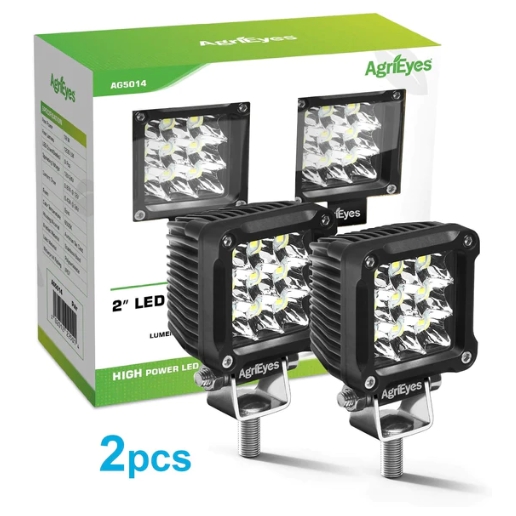
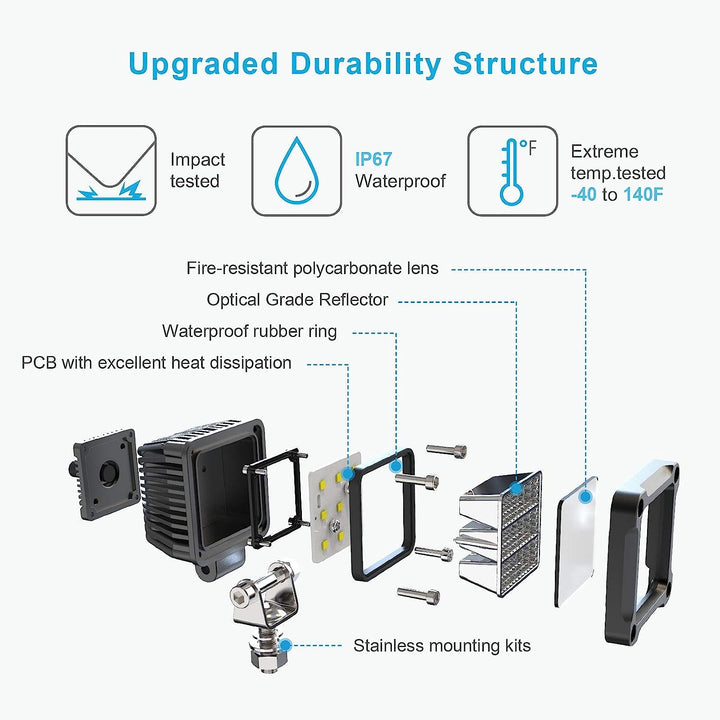
A high-quality lighting system is essential for an excellent driving experience. The AgriEyes 5014 2PCS LED Driving Light stands out with its superb lighting performance, durability, and easy installation, making it a favorite among drivers. This article provides a comprehensive guide from preparation to final testing, including maintenance tips, to help you effortlessly enhance your vehicle's lighting.
Before you start installing the AgriEyes 5014 LED driving light , make sure you have the following tools and materials:
AgriEyes 5014 2PCS LED Driving Light kit
- Screw pack
- Power drill(if needed for installation)
- Screwdriver
- Insulating tape
- Cleaning cloth
- Safety goggles (safety first)

First, select a suitable installation position based on your preferences and driving environment. The compact design of the AgriEyes 5014 allows for installation on the front roof, the sides of the bumper, or the vehicle's side panels. The ideal location should ensure that the lights are unobstructed and effectively expand your field of vision at night or in adverse weather conditions.
Use the light base as a template to mark the installation points precisely. If drilling is required, wear safety goggles and use a drill bit of the appropriate size to make holes at the marked points. Ensure you operate safely to protect yourself and the vehicle.
Align the lights with the preset holes and use the provided screws to secure them evenly. Apply moderate force to avoid damaging the lights or the vehicle. After securing the lights, seal the wiring connections with insulating tape to enhance waterproof and dustproof properties.
With the vehicle's power off, correctly connect the positive and negative leads of the LED lights to the corresponding circuits in the vehicle. Wrap all connections with insulating tape to prevent short circuits. Proper wiring is crucial for the lights to function correctly.

After wiring, turn on the vehicle’s power to check if the LED lights illuminate properly. Observe the light coverage and adjust the angle if necessary to optimize the lighting effect.
After confirming that the lights are functioning correctly, perform a final thorough inspection. Ensure all screws are tight and connections are secure to avoid safety hazards while driving.
By following this detailed installation guide and maintenance tips, you can successfully install the AgriEyes 5014 2PCS Driving Light and ensure its long-term stable operation. This provides strong and reliable lighting support for nighttime driving or outdoor adventures. Choosing AgriEyes means opting for a safe, efficient, and durable lighting solution, bringing confidence and brightness to every journey.